Coastal Lighthouse Door Hanger

Today we’ll be taking a trip to the Outer Banks of North Carolina. Okay, not really. But we will be painting a lighthouse door hanger that reminds me of those found in that part of the country.
When my husband was in the Marine Corps, we lived in North Carolina for a time. And whenever family came to visit, we would take them to the Outer Banks to experience the natural beauty that is so incredible there. And a visit wasn’t complete without a trip to a lighthouse. The one at Cape Hatteras was my favorite.
Today I’m going to show you how I painted this coastal-inspired lighthouse door hanger!
Supply List
- Large Flat Tip Paint Brush
- Small Round Tip Brush
- Lighthouse Door Hanger Blank
- -OR- Lighthouse Printable Template and Digital Cut File
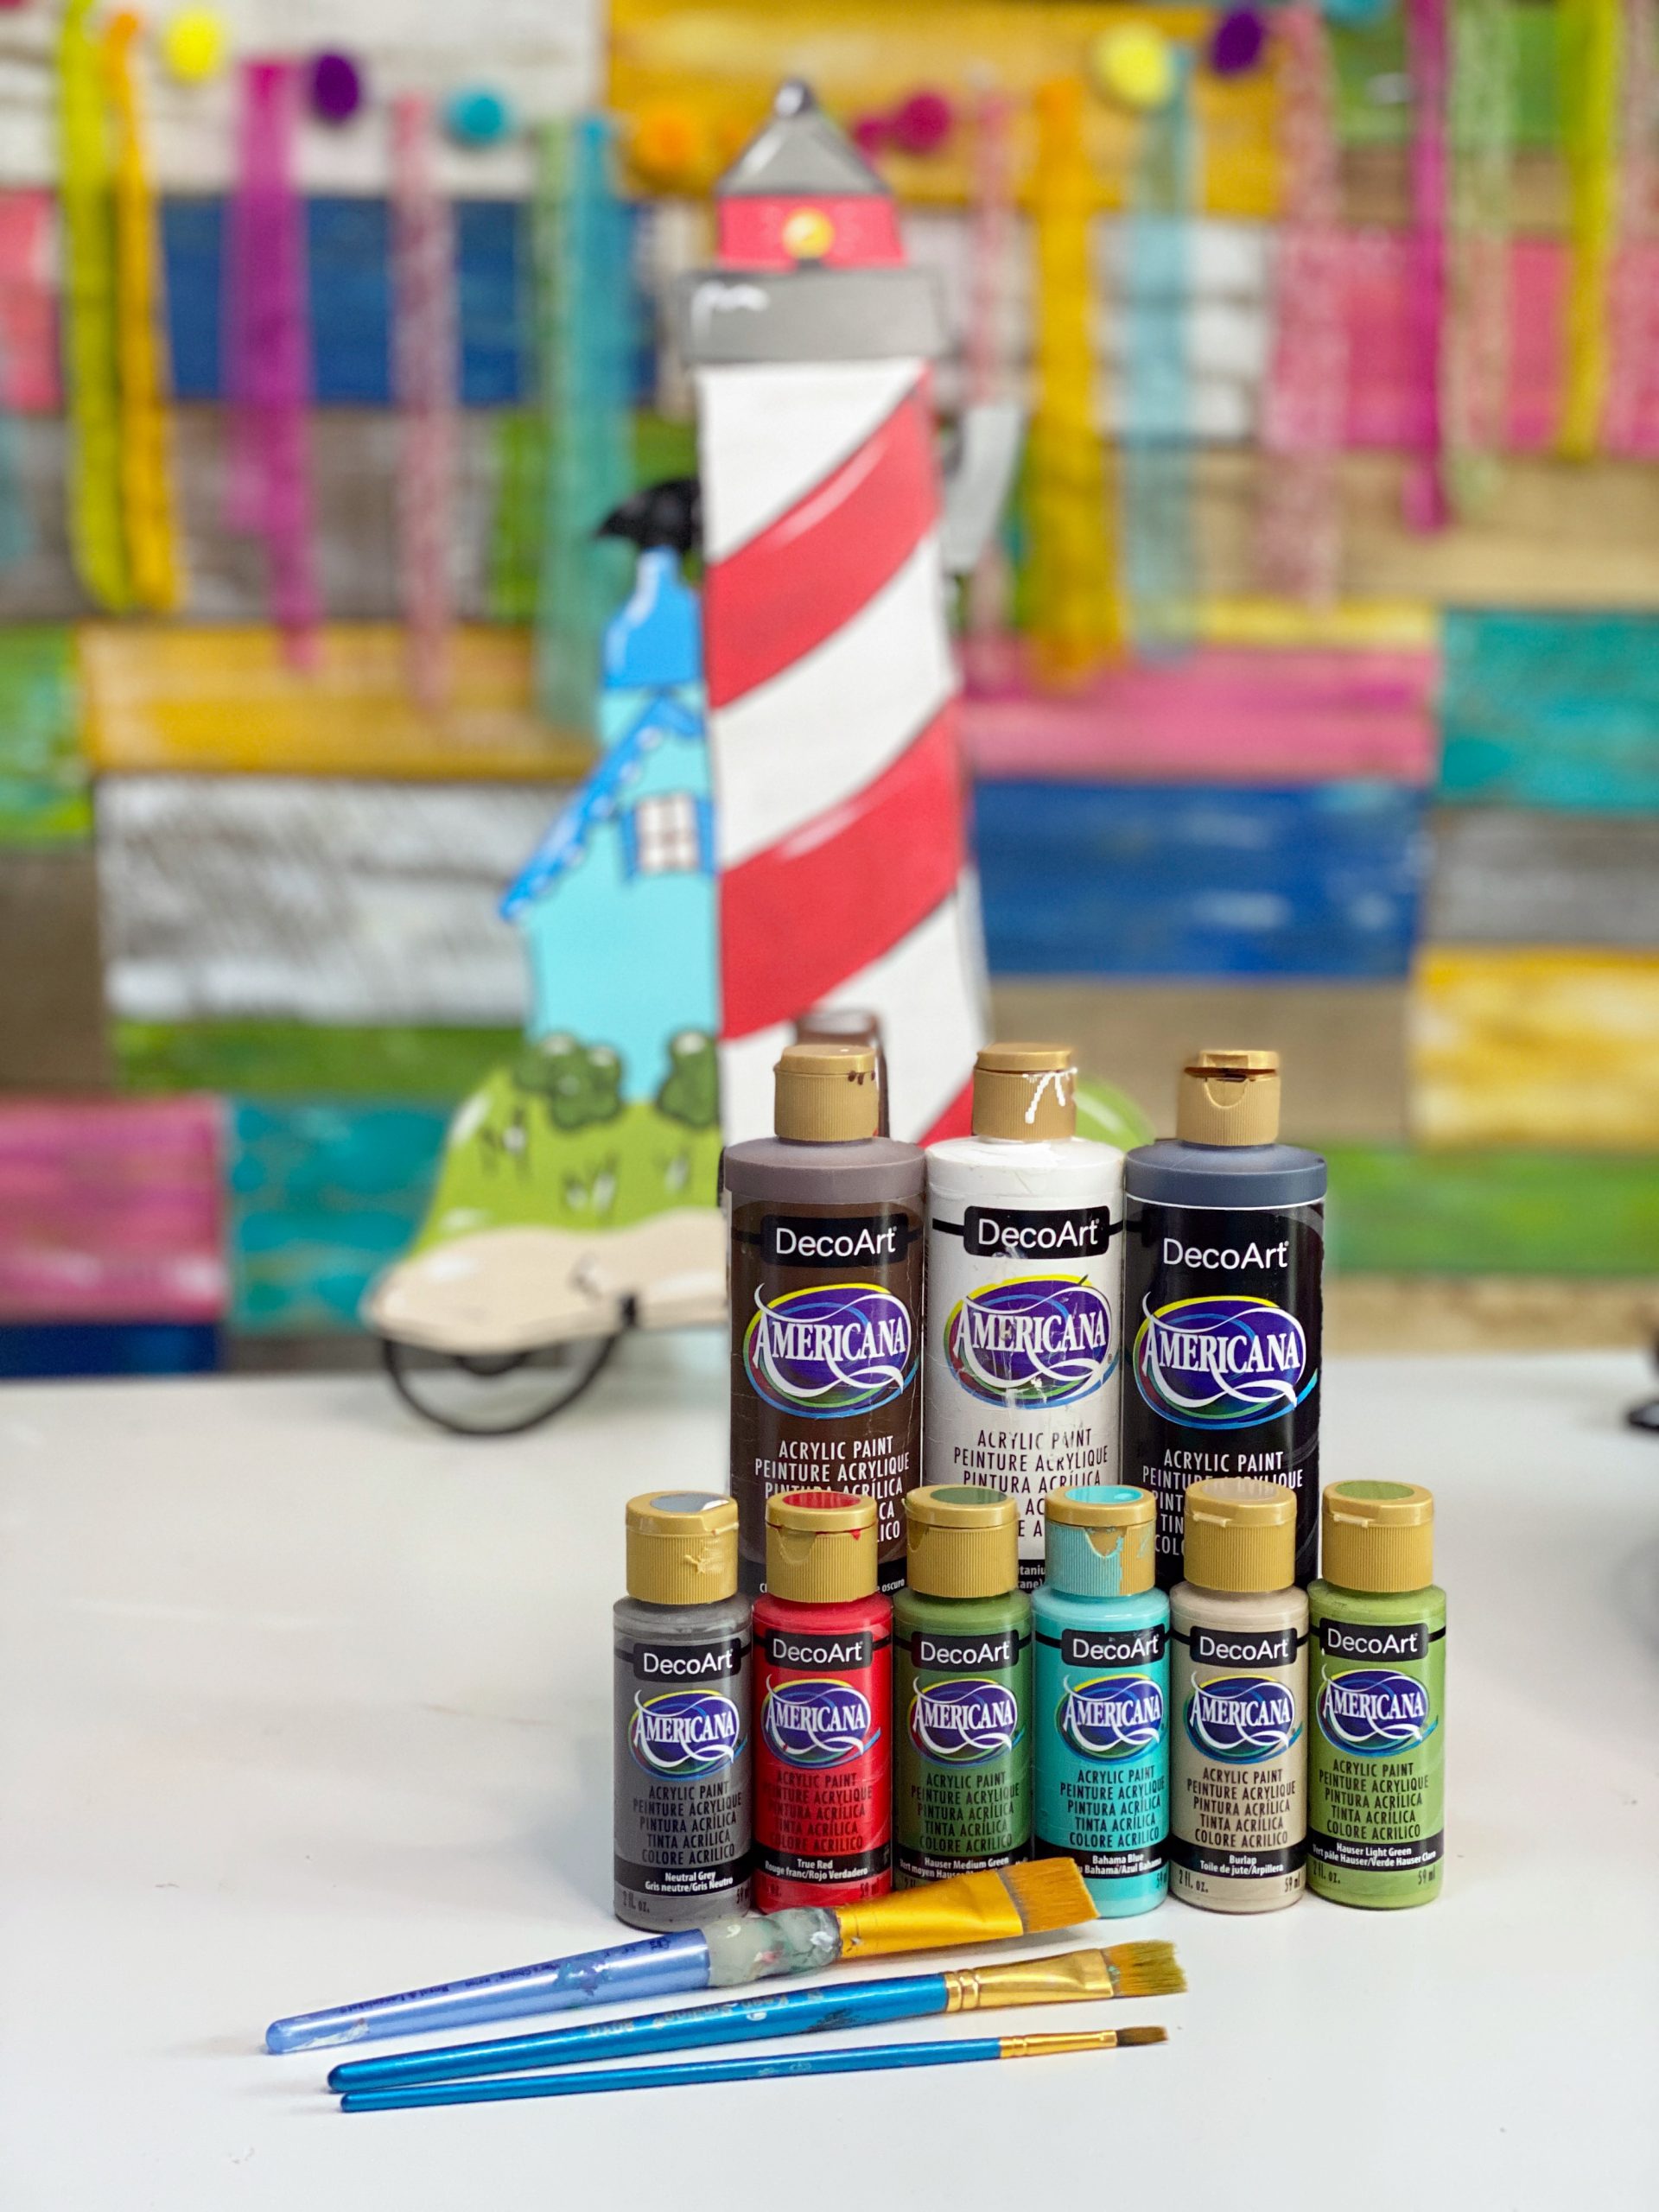
And DecoArt Matte Acrylic Americana Paints:
-
- Oyster Beige
- Hauser Light Green
- Hauser Medium Green
- Primary Red
- Pewter Gray
- Dark Chocolate
- Bahama Blue
- Black
- White
It’s easy to find the painting supplies that you need in my online shop or Amazon door hanger supply storefront.
Note: Affiliate links included within this post for your convenience. As an Amazon Associate, I earn from qualifying purchases.

DIY Your Own Lighthouse Door Hanger
Today I started with a template of this lighthouse and cut it out with my jigsaw. I gave it a nice, smooth coat of white paint. But then I realized I would like some lines to guide me as I painted. Good news – I had the perfect solution. Graphite paper!
I simply took a piece of graphite, placed it between the template and the cutout of the lighthouse, and traced all of the lines with a ballpoint pen. And voila, all of the lines appeared on the blank door hanger, ready to guide me as I painted.
TIP: Graphite paper can be reused many times for many different projects. The kind I use is available here in my Amazon store.
You can also cut out your own door hanger at home using my printable template and digital cut file. Or, if you’re not quite ready for that, you can also start with a ready-to-paint cutout blank that is etched. The etching makes it easy even for beginners! It’s just like paint-by-number kits you did as a kid.
Should you get a blank or a template? And what size do I need?
Not sure what you need? Check out my blog post where I share the differences and help you decide if you should use a template or ready-to-paint blank cutout.
Here, I’m painting a 20″ size cutout of the lighthouse, which is the perfect size for a door hanger. But in my shop, you can also choose several other sizes for this lighthouse, depending on how you want to use your project in your home decor (and fyi, the 12″ size makes a great wall hanging in a beach-themed bathroom):
- 20” for door hangers
- 12” for porch welcome sign attachments
- 8” for door hanger attachments
- 6” for ornaments or wreath attachments
Grab Your Supplies and You’re Ready to Go!
To get started, if you haven’t already, give the entire surface a nice, even coat of white paint. Next, paint the sand using oyster beige. It’s just right for sand.
Next, move on to the grass and bushes. We’ll use two different greens – hauser light green for the grass and hauser medium green for the bushes.
TIP: Using an egg carton to hold your paint while you’re working keeps it from drying out while you paint.
Now we’ll move on to those beautiful red stripes going up the lighthouse. I used primary red for these, and it turned out just right.

Next, we’ll start on the light keeper’s cottage. I couldn’t find the perfect blues, so I did what I always do when that happens. I mixed colors. Starting with Bahama blue, I mixed in some white until I ended up with a shade of sky blue that made me happy. I used that for the cottage itself.
I then added a few drops of navy blue to darken up my blue paint. This turned out to be the perfect shade for the trim on the cottage, the roof, and those adorable shutters.
Next, it’s time to paint the top section of the lighthouse. I used pewter gray for what looks like the ledge where the light keeper might stand as well as the “roof.”
Adding Details to Your Lighthouse
Now it’s time to add details. This is where your door hanger will start to show its personality – and yours! This is where it starts to come alive.
Using a tiny brush and brown paint, paint the wood frame around the window. Then, using the same tiny brush, but this time with black paint, outline the shutters and paint on the slats.
With that same brush and black paint, you’ll add wavy lines to the bushes and the sand. Outline the tips of the grass. You’ll also outline the cottage and lighthouse, and then come back and outline the scallops on the roof and the stripes on the lighthouse. Do you see how those touches are bringing this lighthouse to life?
And in case you’re tempted to stress out about making your lines perfect, don’t! I think part of the charm of a handmade door hanger is the imperfections. That’s how you can tell it was made with care and love – and not bought in a store!

Let Your Light Shine!
Don’t forget the light! Using a small brush and yellow paint, add the “light” itself.
Finally, use some white on a small, round tip brush to add highlights and accents. When I’m highlighting, I imagine the door hanger as a 3-dimensional object and apply highlights where the light would naturally hit.
Don’t go crazy and highlight everything. Just get a few places here and there!


One thing I’ve always loved about lighthouses is that they remind me of being a Christian. “Let your light shine,” is heard in the Bible, and I think lighthouses are a good reminder to be a beacon of hope for those who need to be uplifted. Encourage them and pray for them. Be a light for them.
To bring more joy to others and celebrate summer, make sure to check out these blog posts featuring summer door hangers and patriotic door hangers.
One Completed Lighthouse Door Hanger

And that’s it! Your door hanger is ready to hang up on your front door! I hope it brings light and love to your family!
Check Out the Video Tutorial
And if you already follow me on facebook, I hope you caught my video tutorial of this lighthouse door hanger when I originally painted it live. If not, make sure you watch it now and I’ll show you exactly how I painted mine, step-by-step:
Once you’ve finished your lighthouse door hanger, make sure you share it in my free facebook group for painters! One of my favorite things is hanging out on Facebook with all of you and getting ideas and inspiration from everyone.
If you’re ready to start right away, you can always find the painting supplies that you need in my online shop or Amazon door hanger supply storefront. Then just grab the lighthouse door hanger blank, or printable template and digital cut file, from my online store.
Love this? Pin it now and save it for later:
Ready to Paint? I’m Here to Help!
I hope that this lighthouse has given you some inspiration for your summer porch or beach house decor! Make sure you’re following me on Pinterest, too, because I pin a lot of door hanger designs and home decor ideas for every occasion.
Plus, don’t forget that I have lots of my favorite craft supplies in my shop and at my Amazon store. There’s everything there you need to DIY your own painted door hangers, from my favorite tools for cutting blanks, to some great brushes and paints that I love to use.
If you’re new to painting door hangers, I’m so excited for you! I’d like to give you a gift to help you get started. Get my FREE eBook that contains everything you need!
Get the Help and Inspiration You Need!
Make sure you follow me on Facebook, Pinterest, and Instagram to get even more ideas, video tutorials, links to my favorite products, and lots of other fun stuff!
Have you signed up for access to my FREE template gallery? Sign up and you’ll get access to download some of my favorite door hanger templates – for free! Ready for more? Join my new Template Club and get first access to all of my new releases every month, for one low price!
And don’t forget about our Painters’ Clubhouse! Once you join, you’ll become part of a monthly membership group where we paint and learn together! From new techniques and painting tips, to getting access to exclusive content all month long, it’s the best place to grow your painting hobby together with us! Make sure you get on the waiting list so that you’ll be one of the first to have an opportunity to grab a spot when membership opens again. It only opens twice a year – you won’t want to miss it!
Join Our Painters’ Clubhouse Waiting List Now!


0 Comments