
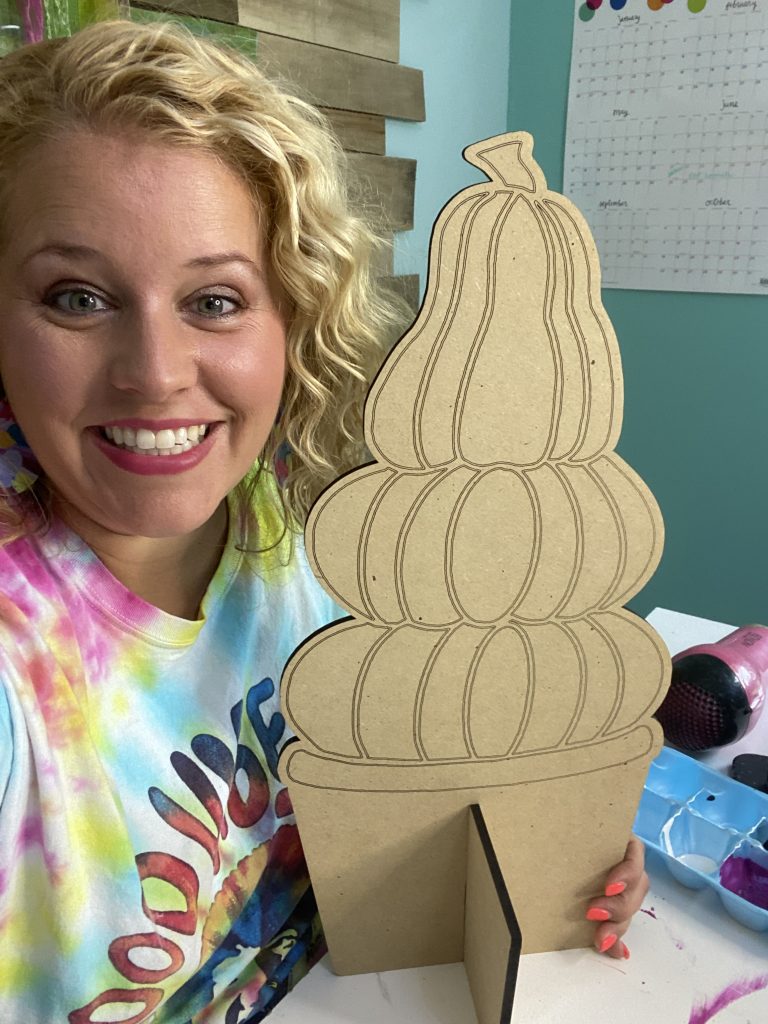
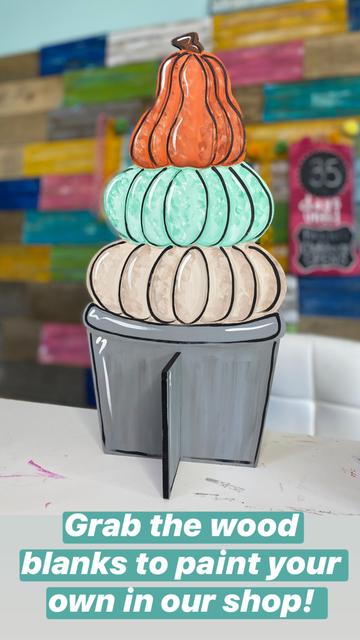
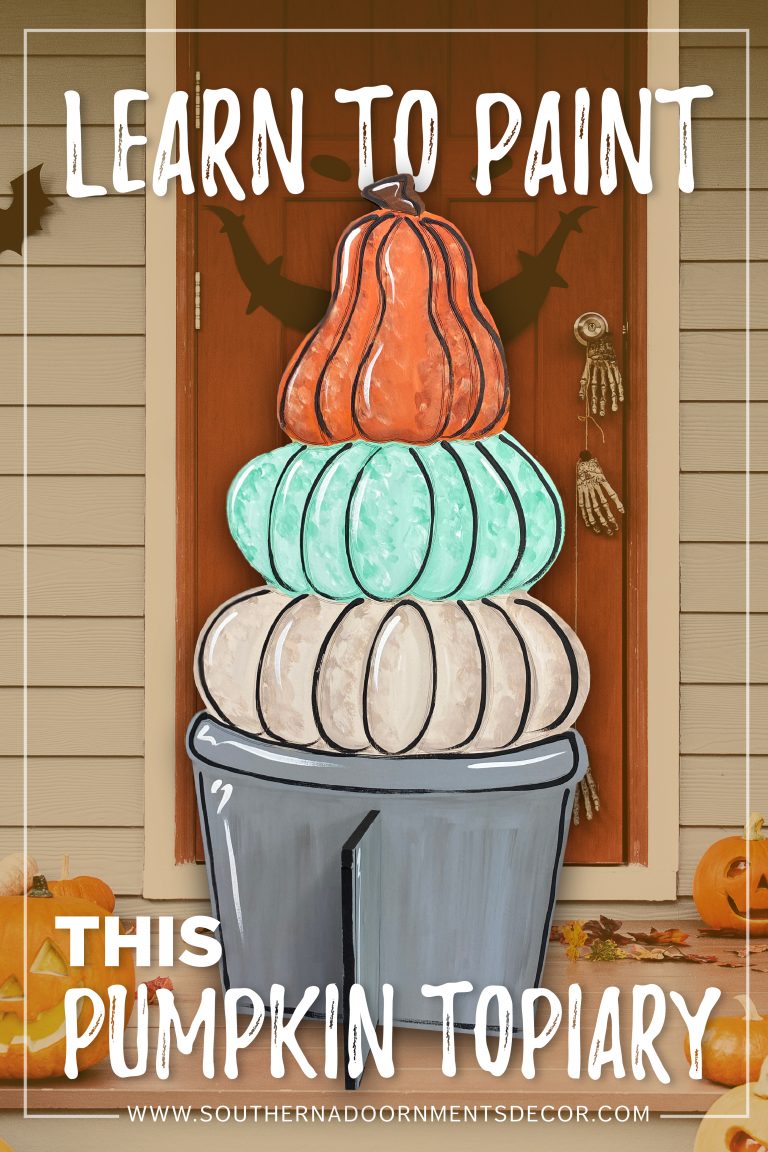
Nothing screams fall more than a festively decorated porch! Today we’re going to be painting this pumpkin topiary porch sitter, isn’t it adorable? Normally, we paint door hangers together, but this pumpkin topiary porch sitter is the perfect project to change it up with. I hope you’re excited to paint it with me! If you’re new around here or came to paint door hangers, head to this blog post where I teach you step-by-step how to paint your own door hanger.
One of my favorite fall activities is going to the pumpkin patch to pick out pumpkins for my porch! I really tried to achieve the different textures and colors you might see at the pumpkin patch in my pumpkin topiary porch sitter. I am so excited to be painting this porch sitter together. It’s the perfect addition to your front porch and if you’re all for themed porches you can even paint a matching door hanger.
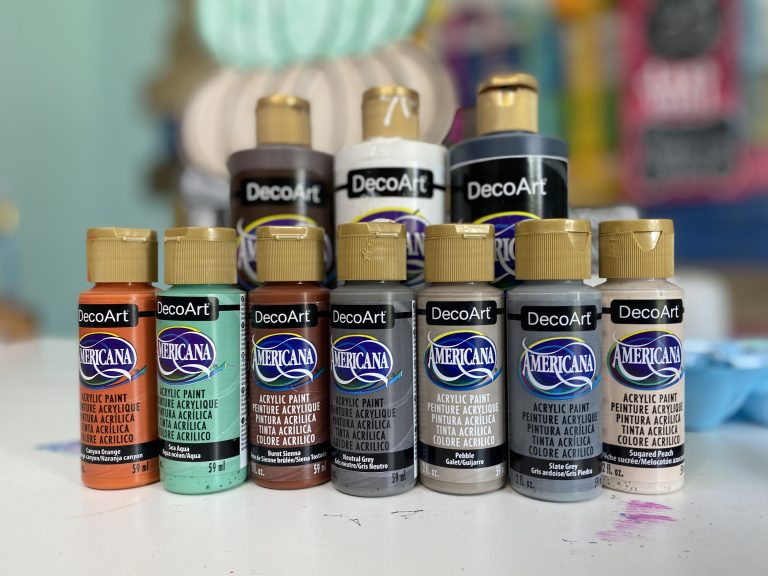
Supply List
And DecoArt Matte Acrylic Americana Paints:
Note: Affiliate links included within this post for your convenience. As an Amazon Associate, I earn from qualifying purchases.
DIY Your Own Pumpkin Topiary Porch Sitter
Today I am using an etched blank. I love how easy etched blanks make painting! However, if you’re up for a challenge or consider yourself an experienced painter you may opt for the blank that is not etched and that is totally fine. I like etched blanks because it makes painting simple. It’s like the paint-by-number kits that you did as a child.
Today, I’m painting a 20″ sized cutout blank of the pumpkin topiary porch sitter. I also have a 12″ option available in my shop. This smaller porch sitter would look adorable sitting on an outdoor table as an accent piece.
Grab Your Supplies and Let’s Get Started!
It’s finally time to grab those paintbrushes and start painting, my favorite part!
First, I started at the base of my pumpkin topiary porch sitter.
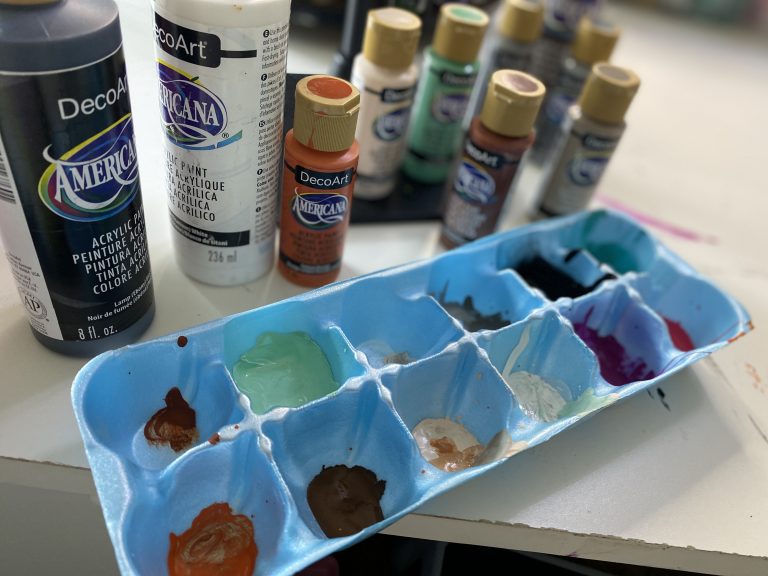
I mixed the two gray paints together, (neutral and slate) then reached for my one inch flat tip brush.
By dipping my paintbrush in both gray colors at the same time I was able to achieve a faux galvanized metal look for my pumpkin bucket. I love the vintage country look it gives the porch sitter!
Don’t forget to paint your notched insert on both sides with the two gray colors as well.
If you’d like to learn more techniques like this one, hand lettering, painting leopard print or tie dye, or even plaid patterns, you would love Painter’s Clubhouse. The Painter’s Clubhouse is an online membership filled with artists who are helping build community and confidence with their work. Enrollment only opens a few times a year, but you can hop on the waitlist here.
Painting Your Pumpkins
Next, move to bottom pumpkin. I switched to a smaller flat tip brush about 1/2inch in size and am using the sugared peach to coat the entire bottom pumpkin.
Next I used an angle tip brush and dipped it in sugared peach then the pebble paint color to create a shadow along the etched line on the bottom pumpkin. This creates some depth on our pumpkins, which keeps them from looking flat!
I added a little bit of white lightly in between my shading on my pumpkin to make those shadows stand out.
Now on to the middle pumpkin! Using the flat tip brush, I thinned the sea aqua paint out with white to make it less green and painted the entire middle pumpkin.
I then grabbed my angle tip brush again and dipped it in some white paint to shade my lines on top of the green.
Going back to my flat tip brush, I added the canyon orange colored paint to the top pumpkin. Using my angle brush I dipped the tip in burnt sienna paint, and the other side of the brush in the canyon orange so that I could shade my top pumpkin.
I followed the etched lines and then also the base of the pumpkin as well. I then used a little bit of white to highlight the inside portions of my pumpkin!
Let’s Add Some Details & Finishing Touches!
To give my pumpkins some texture I used a stippling technique. I used the color of the pumpkin and mixed it with some white and then just dabbled my brush on my pumpkin.
I did most of the stippling technique, toward the top of the pumpkins. This created an effect that made the pumpkins appear bumpy, just like the ones I love at the patch!
Next, I painted my stem brown and added details. I used a thinner, round tip brush (size 3) with black paint.
After adding some water to my black paint so that it wasn’t a harsh black, I lightly outlined all of my pumpkins.
Next, I got some white paint and added a few highlight to my pumpkins. This is a great way to give the feel that light is bouncing off of the Pumpkin Topiary porch sitter.
I was so excited about this one I had to post about it on my TikTok account!
Finishing Up Your Pumpkin Topiary Porch Sitter
For time’s sake, I only painted the front of my pumpkin topiary porch sitter. However, the fun part about this porch sitter is that you get to paint both sides! You could even get creative and paint the back different than the front. The options are endless. I’d love to see what you decide!
Finally, as you are finishing I suggest adding DuraClear Gloss Varnish to your pumpkin topiary porch sitter to help it withstand weather as it sits on your porch.
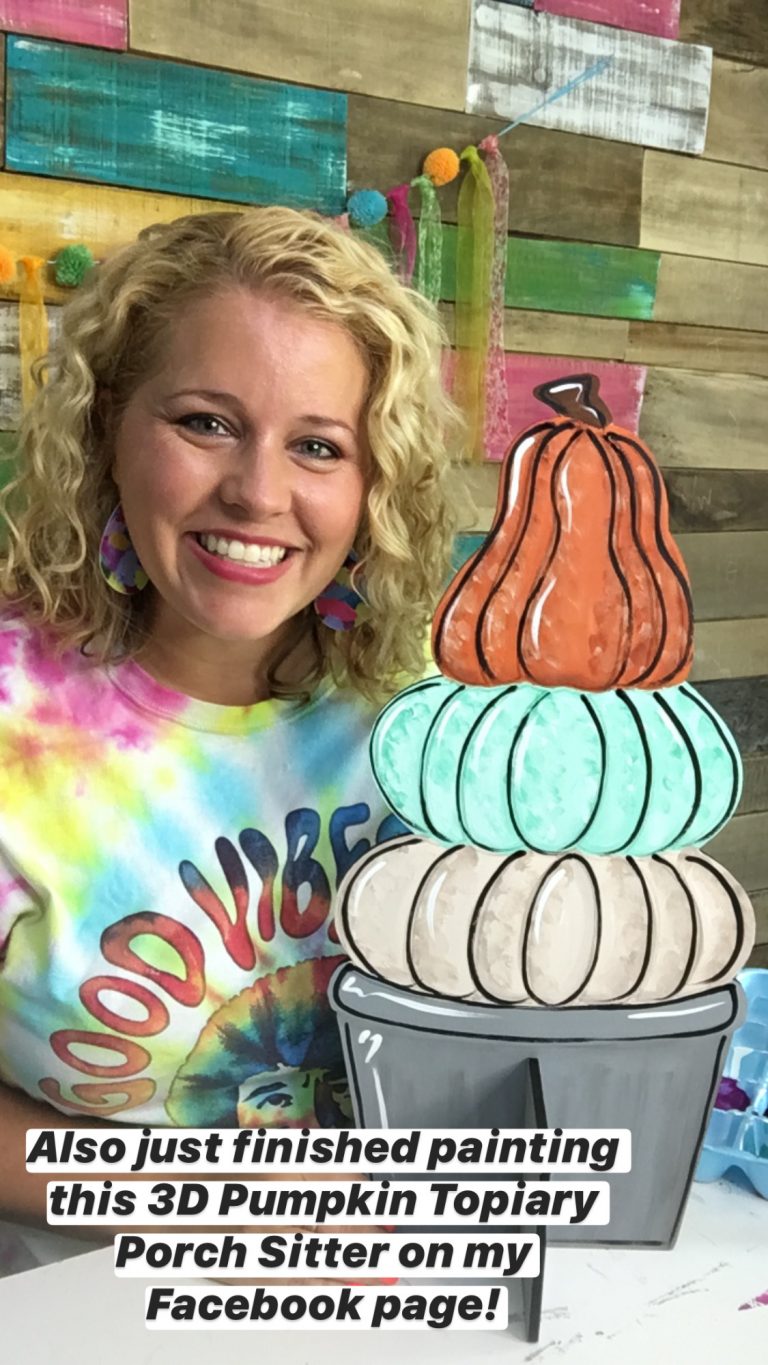
And that’s a wrap! Your pumpkin topiary porch sitter is ready to bring some festive fall feels to your porch! I have some really great fall door hangers that would look perfect with this porch sitter. You can check them all out right here.
If you’re still looking for ways to add some fall DIY decor to your home, check out my blog post on how to paint a pumpkin banner. I even have a blog post that will walk you through how to make your own welcome porch sign this year. With all the pumpkin things your home is sure to be festive this season!
I also have a great blog post that breaks down four different ways to paint the same pumpkin truck. It is adorable and perfect for fall! You can find that blog post here.
Check Out the Video Tutorial
If you don’t already follow me on facebook, you’re really missing out! I actually painted this door hanger live on my Facebook page. If you missed it be sure to watch it now so I can show you step-by-step exactly how I painted it!
Once you’ve finished your pumpkin topiary porch sitter, make sure you share it in my free facebook group for painters! One of my favorite things is hanging out on Facebook with all of you and getting ideas and inspiration from everyone.
If you’re new to painting door hangers and want to expand on your knowledge and skills, I have a free ebook that is perfect for beginners. It will break down everything you need to know to get started!
Find It In My Shop:
Previous
Next
Featured Products
Love this pumpkin porch sitter? Pin it for later:
Get the Help and Inspiration You Need!
Make sure you follow me on Facebook, Pinterest, and Instagram to get even more ideas, video tutorials, links to my favorite products, and lots of other fun stuff!
Never even heard of a door hanger before and now you’re painting one? Well, let’s back up and visit my blog on door hanger basics for the beginner and how to get started. I’ll walk you through all the basics and give great tips to getting started with painting your own door hanger.
Have you signed up for access to my FREE template gallery? Sign up and you’ll get access to download some of my favorite door hanger templates – for free! Ready for more? Join my new Template Club and get first access to all of my new releases every month, for one low price!
And don’t forget about our Painters’ Clubhouse! Once you join, you’ll become part of a monthly membership group where we paint and learn together! From new techniques and painting tips, to getting access to exclusive content all month long, it’s the best place to grow your painting hobby together with us! Make sure you get on the waiting list so that you’ll be one of the first to have an opportunity to grab a spot when membership opens again. It only opens twice a year – you won’t want to miss it!
Join Our Painters’ Clubhouse Waiting List Now!

0 Comments