
Are your kids back to school yet? School sure does look a lot different this year in 2020, but regardless of how it looks we are back at it and trying to get in the groove. Today we’re going to be painting this fun schoolhouse door hanger! Isn’t it adorable?! This door hanger makes the perfect personalized teacher gift idea for that back to school classroom decor!
Many of us didn’t grow up in a one room schoolhouse, where one teacher was responsible for all the students in school. Can you imagine how difficult it was for the teacher and students at times? It’s crazy to think about how one room schoolhouses have transitioned into classrooms now, and those classroom can even be transitioned into virtual spaces! Come along with me as I paint this fun schoolhouse door hanger – I’ll show you what I did so you can paint one for your classroom too!
Supply List
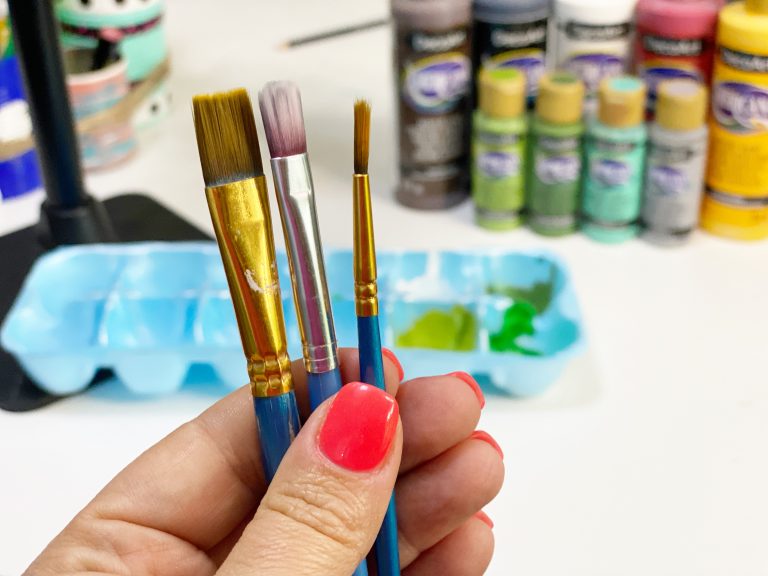
- Large Flat Tip Paint Brush
- Medium Round Tip Brush
- Small Round Tip Brush
- Schoolhouse Door Hanger Blank
- -OR- Schoolhouse Printable Template and Digital Cut File
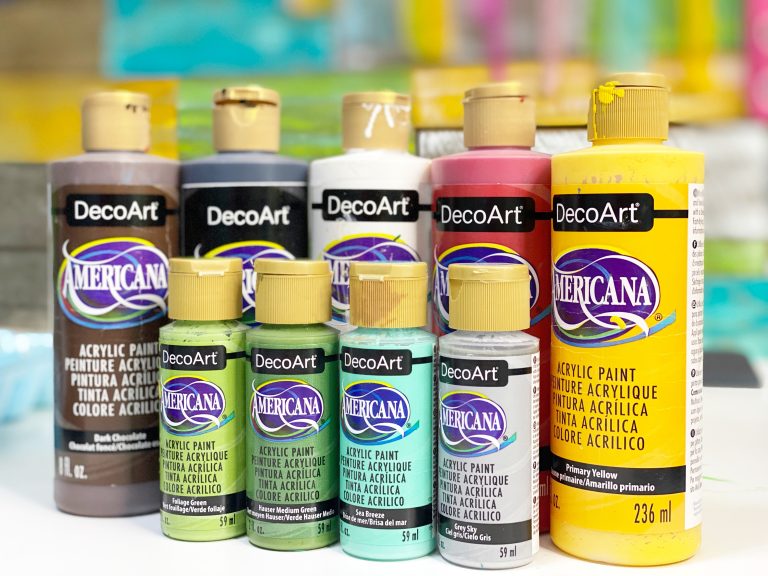
And DecoArt Matte Acrylic Americana Paints:
-
- Black
- White
- Dark Chocolate
- True Red
- Primary Yellow
- Grey Sky
- Sea Breeze
- Hauser Medium Green
- Foliage Green
Note: Affiliate links included within this post for your convenience. As an Amazon Associate, I earn from qualifying purchases.
Getting Started on Your Schoolhouse Door Hanger
When I decided to paint this schoolhouse door hanger, I opted for an etched blank! Etched blank door hangers are great if you’re a beginner at painting door hangers. The etching gives you a guide as to what should be painted on the door hanger. It’s just like those paint-by-number kits that you did as a kid, how fun were those?
If you are completely new to painting door hangers, the schoolhouse door hanger is a great one to start with! I also have a free e-book that has everything you need to get started painting door hangers. It’s a great tool that will give you a step-by-step guide to creating your door hanger from start to finish!
Now back to our door hanger, if you’re an experienced door hanger painter you may even choose to cut your own door hanger at home. You can use my printable template and digital cut file that I have on my website to get started!
Here, I’m painting a 20″ size cutout blank of the schoolhouse, which is the perfect size for a door hanger. But in my shop, you can also choose several other sizes for this pineapple, depending on how you want to use your project in your decor. I think this schoolhouse door hanger looks perfect just about anywhere you may find yourself teaching!
- 20” for door hangers
- 12” for porch welcome sign attachments
- 8” for door hanger attachments
- 6” for ornaments or wreath attachments
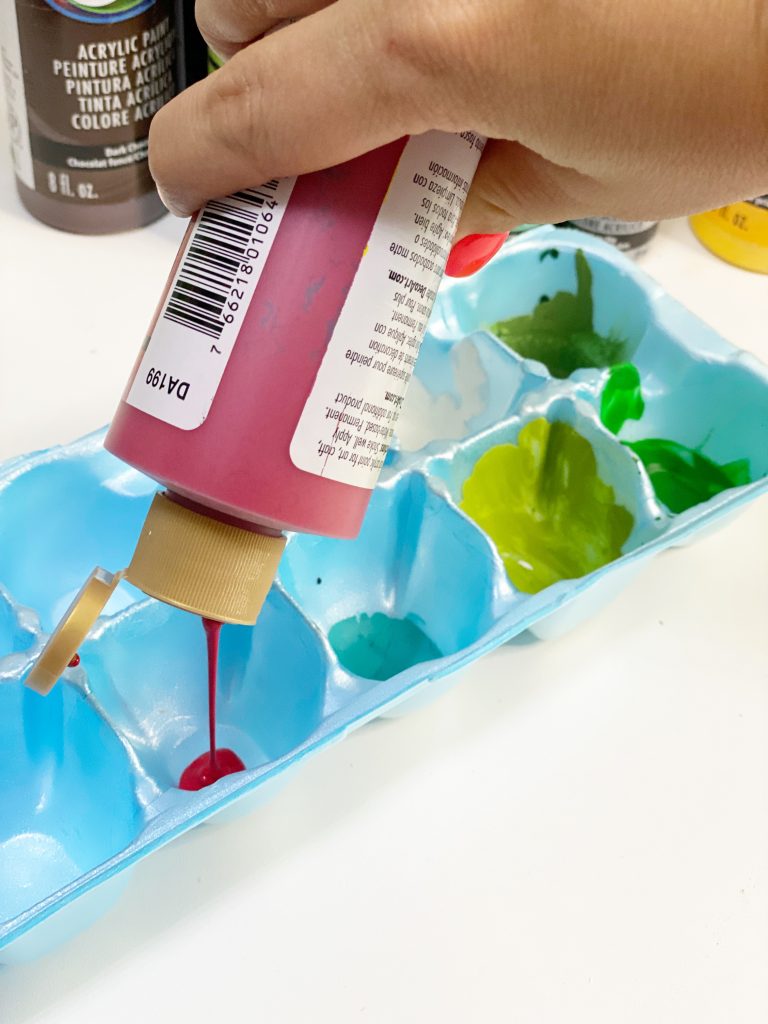
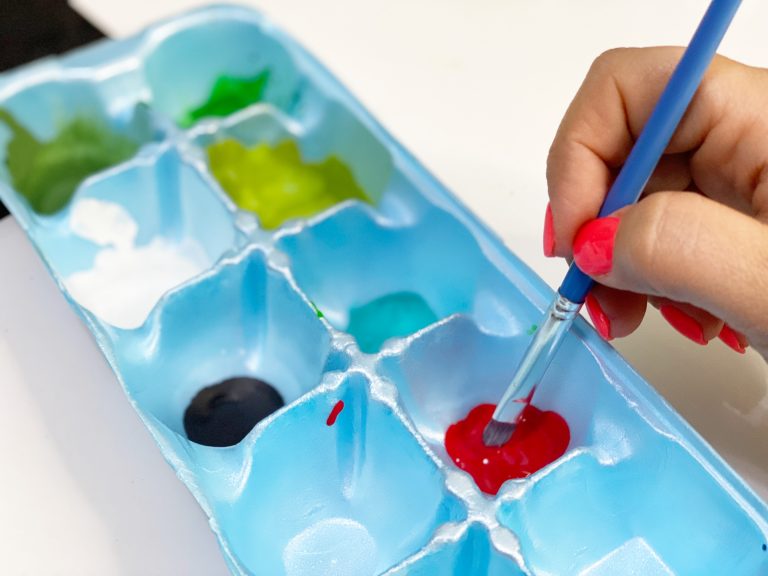
Grab Your Supplies and You’re Ready to Go!
To get started, paint a coat of red on your actual schoolhouse. The great thing about etched door hangers is that you can paint over the etching and still see the lines. I used my larger flat tip brush for the red paint, the larger brush made it easier to cover the large area of the schoolhouse.
Next, I used the medium brush to paint the awning and roof of the school. The Sea Breeze color is perfect for this and looks so festive and fun with the red schoolhouse.
After the awning and roof were painted, I painted the background of the windows white and I painted the schoolhouse door yellow. Don’t worry, we’ll go back and add our details later on! Next on our list we needed to paint the trees and bushes green, I used two different shades of green to help with shading of my trees.
TIP: Swirl your paint brush while using Hauser Medium Green and Foliage Green. This will add shading to your tree and bushes giving it great depth!
It’s Time For Those Details!
Now it’s time to add some details to our schoolhouse door hanger!
We’re getting there, but our schoolhouse still needs more. I went ahead and painted the tree trunk brown as well. Next, I used a smaller paint brush and added apples to the tree.
Then, I used the black paint on the small brush to add the scallop details to our roof and window panes as well as outline our school, bushes, and tree! Don’t forget to add your door knob!
We’re keeping the fun going by adding some accents.
I used white to highlight various places on my door hanger that I would want light to hit. This really helps those details to stand out!
Then, using my round tip brush with black paint I hand lettered the word school on the door hanger. This would be the perfect place to add a teacher’s name or a school name!
If you enjoyed that step-by-step tutorial, you would love to be apart of our Painter’s Clubhouse. Our Painter’s Clubhouse is a group of painters that are looking to grow from beginners to experienced painters alongside others. It’s a place where you will find happiness and confidence in painting door hangers. We’d love to have you join us, hop on our waitlist by visiting our website here.
And if you want more cute back-to-school door hanger ideas like this one, check out my blog post that showcases several of my favorite classroom designs!
Finishing Up the Schoolhouse Door Hanger
Add a bow to this fun schoolhouse door hanger and it’s ready to be hung on the door or made into a sign for a classroom!
I hope that you’ve enjoyed painting this door hanger as much as I have! If this was your first time painting a door hanger, I want to encourage you to check out my blog post for beginners. It will give you so many tips and ideas about all the ways that you can use these designs to decorate more than just your door.
Check Out the Video Tutorial
If you already follow me on facebook, I hope you caught my video tutorial of this schoolhouse door hanger when I originally painted it live. If not, make sure you watch it now and I’ll show you exactly how I painted mine, step-by-step:
Once you’ve finished your schoolhouse door hanger, I would love to see it! Be sure that you share it in my free facebook group for painters! One of my favorite things is hanging out on Facebook with you guys and getting ideas and inspiration from everyone.
I hope you’ve enjoyed this as much as I have, I can’t wait to paint with you again!
Find It In My Shop:
Previous
Next
Featured Products
Love the schoolhouse door hanger? Pin it for later:

Get the Help and Inspiration You Need!
Make sure you follow me on Facebook, Pinterest, and Instagram to get even more ideas, video tutorials, links to my favorite products, and lots of other fun stuff!
Never even heard of a door hanger before and now you’re painting one? Well, let’s back up and visit my blog on door hanger basics for the beginner and how to get started. I’ll walk you through all the basics and give great tips to getting started with painting your own door hanger.
Have you signed up for access to my FREE template gallery? Sign up and you’ll get access to download some of my favorite door hanger templates – for free! Ready for more? Join my new Template Club and get first access to all of my new releases every month, for one low price!
And don’t forget about our Painters’ Clubhouse! Once you join, you’ll become part of a monthly membership group where we paint and learn together! From new techniques and painting tips, to getting access to exclusive content all month long, it’s the best place to grow your painting hobby together with us! Make sure you get on the waiting list so that you’ll be one of the first to have an opportunity to grab a spot when membership opens again. It only opens twice a year – you won’t want to miss it!
Join Our Painters’ Clubhouse Waiting List Now!

0 Comments